
Controlled Environment Yield: What Drives Better Output?
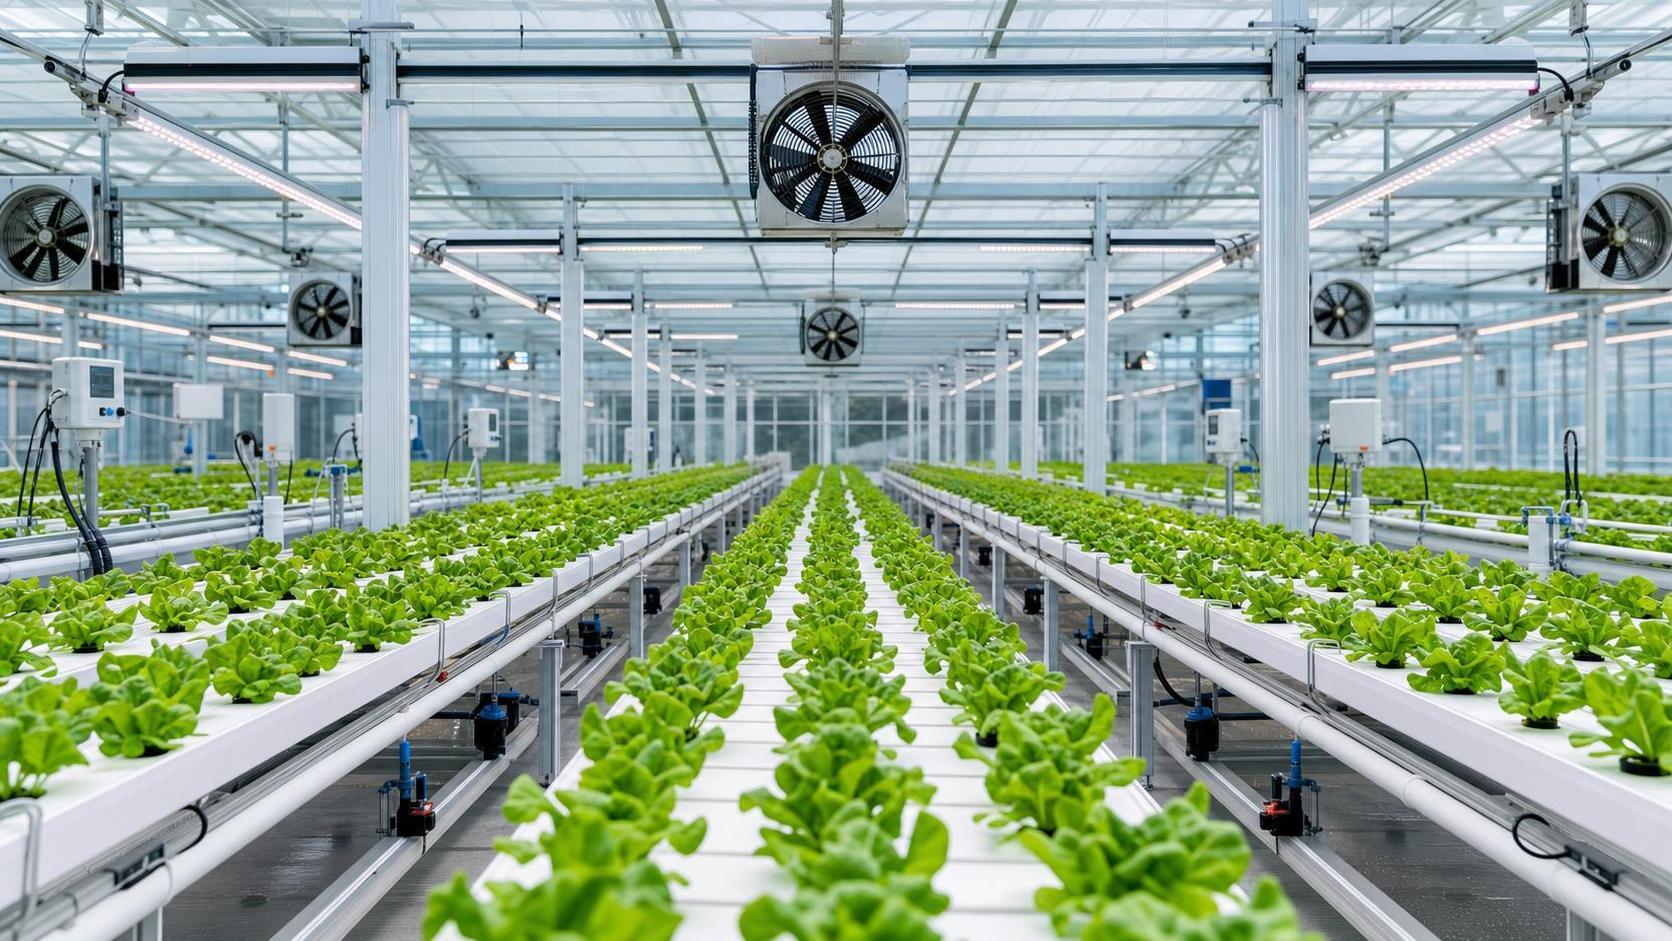
Controlled Environment Yield: What Drives Better Output?
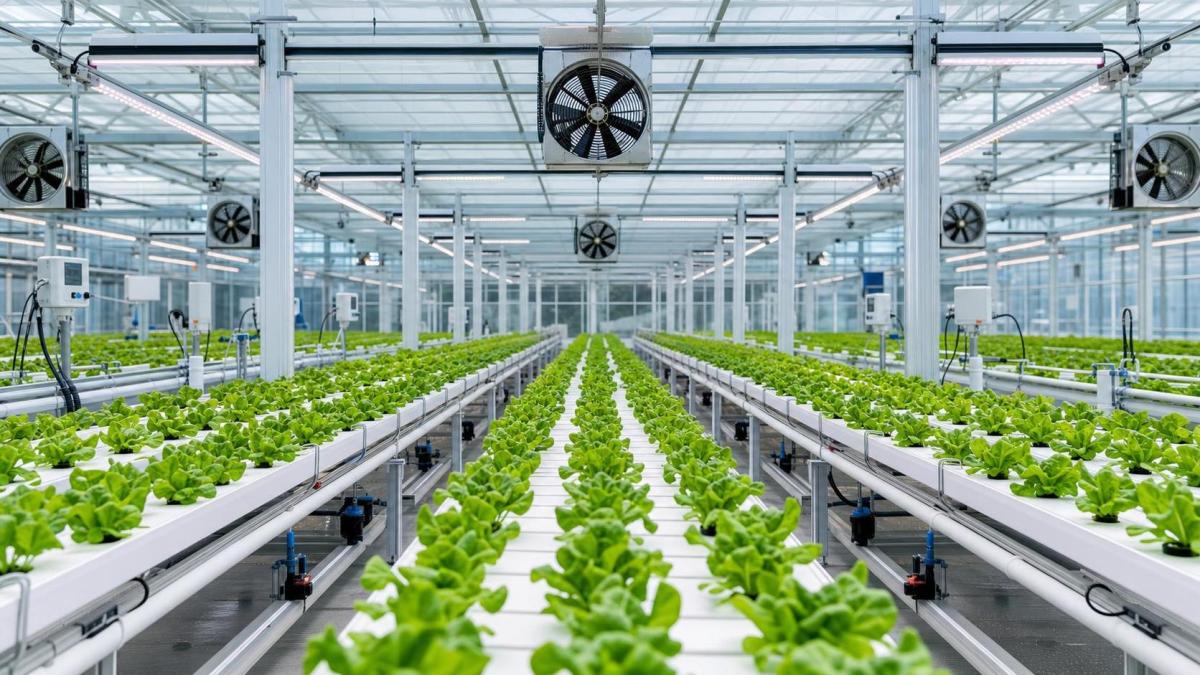
Controlled Environment Yield depends on more than lighting or temperature alone.
In technical evaluations, the real question is simpler.
Which variables produce repeatable output, and which only raise capital and operating costs?
That question matters across greenhouses, hydroponic farms, vertical systems, and hybrid protected cultivation projects.
A high Controlled Environment Yield usually comes from system balance, not one premium component.
Climate precision, irrigation uniformity, crop steering, labor flow, and machine uptime all interact.
If one of those breaks, expected output often drops faster than spreadsheet models predict.
From a technical and standards perspective, yield should be evaluated as a system performance result.
That means looking at measurable stability over time, not peak performance during ideal weeks.
In practice, better output is driven by control quality, response speed, consistency, and operating discipline.
Why Controlled Environment Yield Is a System Metric
Controlled Environment Yield is often discussed as a crop result.
Technically, it is better understood as a system metric.
The crop reflects how accurately the environment is maintained within target bands.
Those bands include temperature, humidity, vapor pressure deficit, CO2, root-zone EC, pH, and light duration.
Output also depends on how stable these variables remain during external weather shifts.
This is where many procurement decisions become clearer.
A cheaper system may hit targets occasionally, but still underperform on seasonal consistency.
A stronger system usually wins through tighter deviation control and faster corrective action.
- Setpoint accuracy affects crop stress frequency.
- Sensor calibration affects control decisions.
- Mechanical reliability affects environmental continuity.
- Labor response time affects correction speed.
So when teams compare suppliers, Controlled Environment Yield should be tied to integrated operating performance.
Climate Control Precision Has the Strongest Direct Effect
The most direct driver of Controlled Environment Yield is climate control precision.
Plants react quickly to unstable air conditions, even when average daily values appear acceptable.
Short humidity spikes, poor air mixing, and slow cooling response can reduce transpiration control.
That often leads to weaker nutrient uptake, uneven growth, and lower marketable yield.
Better output usually comes from coordinated systems rather than oversized equipment.
Fans, vents, pads, dehumidification, heating pipes, screens, and CO2 dosing must respond as one.
More importantly, the control logic must match local weather volatility and crop sensitivity.
What to verify in a technical review
- Temperature uniformity across zones, not only at one reference point.
- Humidity recovery time after irrigation, sunrise, and weather shifts.
- CO2 distribution performance under different ventilation states.
- Alarm logic, fail-safe modes, and backup power response.
These details shape Controlled Environment Yield more than headline equipment capacity alone.
Fertigation Strategy Turns Environmental Control Into Biomass
A precise climate without a precise root-zone strategy leaves yield on the table.
Controlled Environment Yield rises when fertigation follows plant demand, not a fixed calendar routine.
This is especially true in hydroponics, coco systems, and high-density greenhouse vegetable production.
Small errors in irrigation timing can compound over several production cycles.
The strongest systems link radiation, substrate conditions, drainage percentage, and dosing recipes.
That allows growers to steer generative or vegetative balance with more confidence.
It also reduces waste in water, fertilizer, and labor.
Key performance checkpoints
- Dose accuracy at low and high flow rates.
- EC and pH stability during daily operating peaks.
- Irrigation uniformity between lines, zones, and benches.
- Recirculation sanitation and nutrient correction capability.
In recent projects, stronger Controlled Environment Yield often comes from better recipe execution, not more fertilizer input.
Sensor Integration Improves Control Quality Only When Data Is Usable
Sensor density alone does not guarantee higher Controlled Environment Yield.
The real value comes from usable data, correct placement, and meaningful control actions.
Many systems collect large volumes of information but fail to improve operating decisions.
That gap usually appears in disconnected platforms, weak dashboards, or poorly defined thresholds.
A practical technical review should ask whether each sensor changes a decision, an alert, or an automation sequence.
If not, the sensor may add complexity without improving output.
Useful sensor layers for output management
- Canopy temperature and humidity for stress detection.
- Substrate moisture, EC, and temperature for root-zone steering.
- PAR or DLI data for lighting and irrigation adjustment.
- Flow, pressure, and valve feedback for irrigation verification.
The clearer signal is this: Controlled Environment Yield improves when sensing supports closed-loop action.
Labor Efficiency and Workflow Design Still Matter
Even highly automated sites can lose Controlled Environment Yield through weak labor design.
Harvest speed, pruning consistency, sanitation timing, and scouting discipline affect output quality every week.
This is especially visible in crops with tight harvesting windows or rapid vegetative growth.
A technically advanced facility can still underperform if crew movement and task sequencing are inefficient.
That also means equipment selection should consider human workflow, not only machine specifications.
Mobile benches, harvest carts, packing lines, and route planning can materially affect Controlled Environment Yield.
The gain may come from reduced damage, faster cycle turnaround, or fewer missed crop interventions.
Equipment Reliability Protects Yield More Than Peak Performance
Controlled Environment Yield is highly sensitive to downtime.
A short ventilation failure during extreme heat can erase weeks of crop potential.
A dosing skid fault can destabilize the root zone before staff notice the trend.
For that reason, reliability should be scored as a yield factor, not only a maintenance factor.
Better output usually comes from systems with predictable service intervals and accessible spare parts.
It also depends on remote diagnostics, local support, and transparent failure reporting.
In practical procurement, reliability often separates good demos from durable yield results.
How to Compare Systems With a Yield-Focused Standard
A useful Controlled Environment Yield comparison should move beyond generic brochure claims.
It should test how well a system holds crop conditions within operational limits.
That requires common review criteria and clear acceptance thresholds.
A practical assessment framework
- Measure environmental stability during normal and extreme weather periods.
- Review irrigation and fertigation accuracy under changing crop demand.
- Test alarm handling, redundancy response, and restart procedures.
- Compare labor hours per output unit, not only automation count.
- Check seasonal service support and local spare parts readiness.
This approach gives Controlled Environment Yield a technical basis that supports CAPEX and ROI decisions.
It also reduces the risk of buying advanced equipment that performs below commercial expectations.
Final Takeaway
Controlled Environment Yield improves when core systems work together with precision and consistency.
Climate control remains the main driver, but it is only part of the picture.
Fertigation strategy, usable sensor data, labor design, and equipment reliability all shape final output.
The strongest projects evaluate these variables as linked performance factors.
That is usually where better yield, lower operating risk, and stronger long-term economics begin.
For procurement and system comparison, the most useful next step is straightforward: score every option against measurable yield stability, response speed, and operational resilience.
Related Intelligence